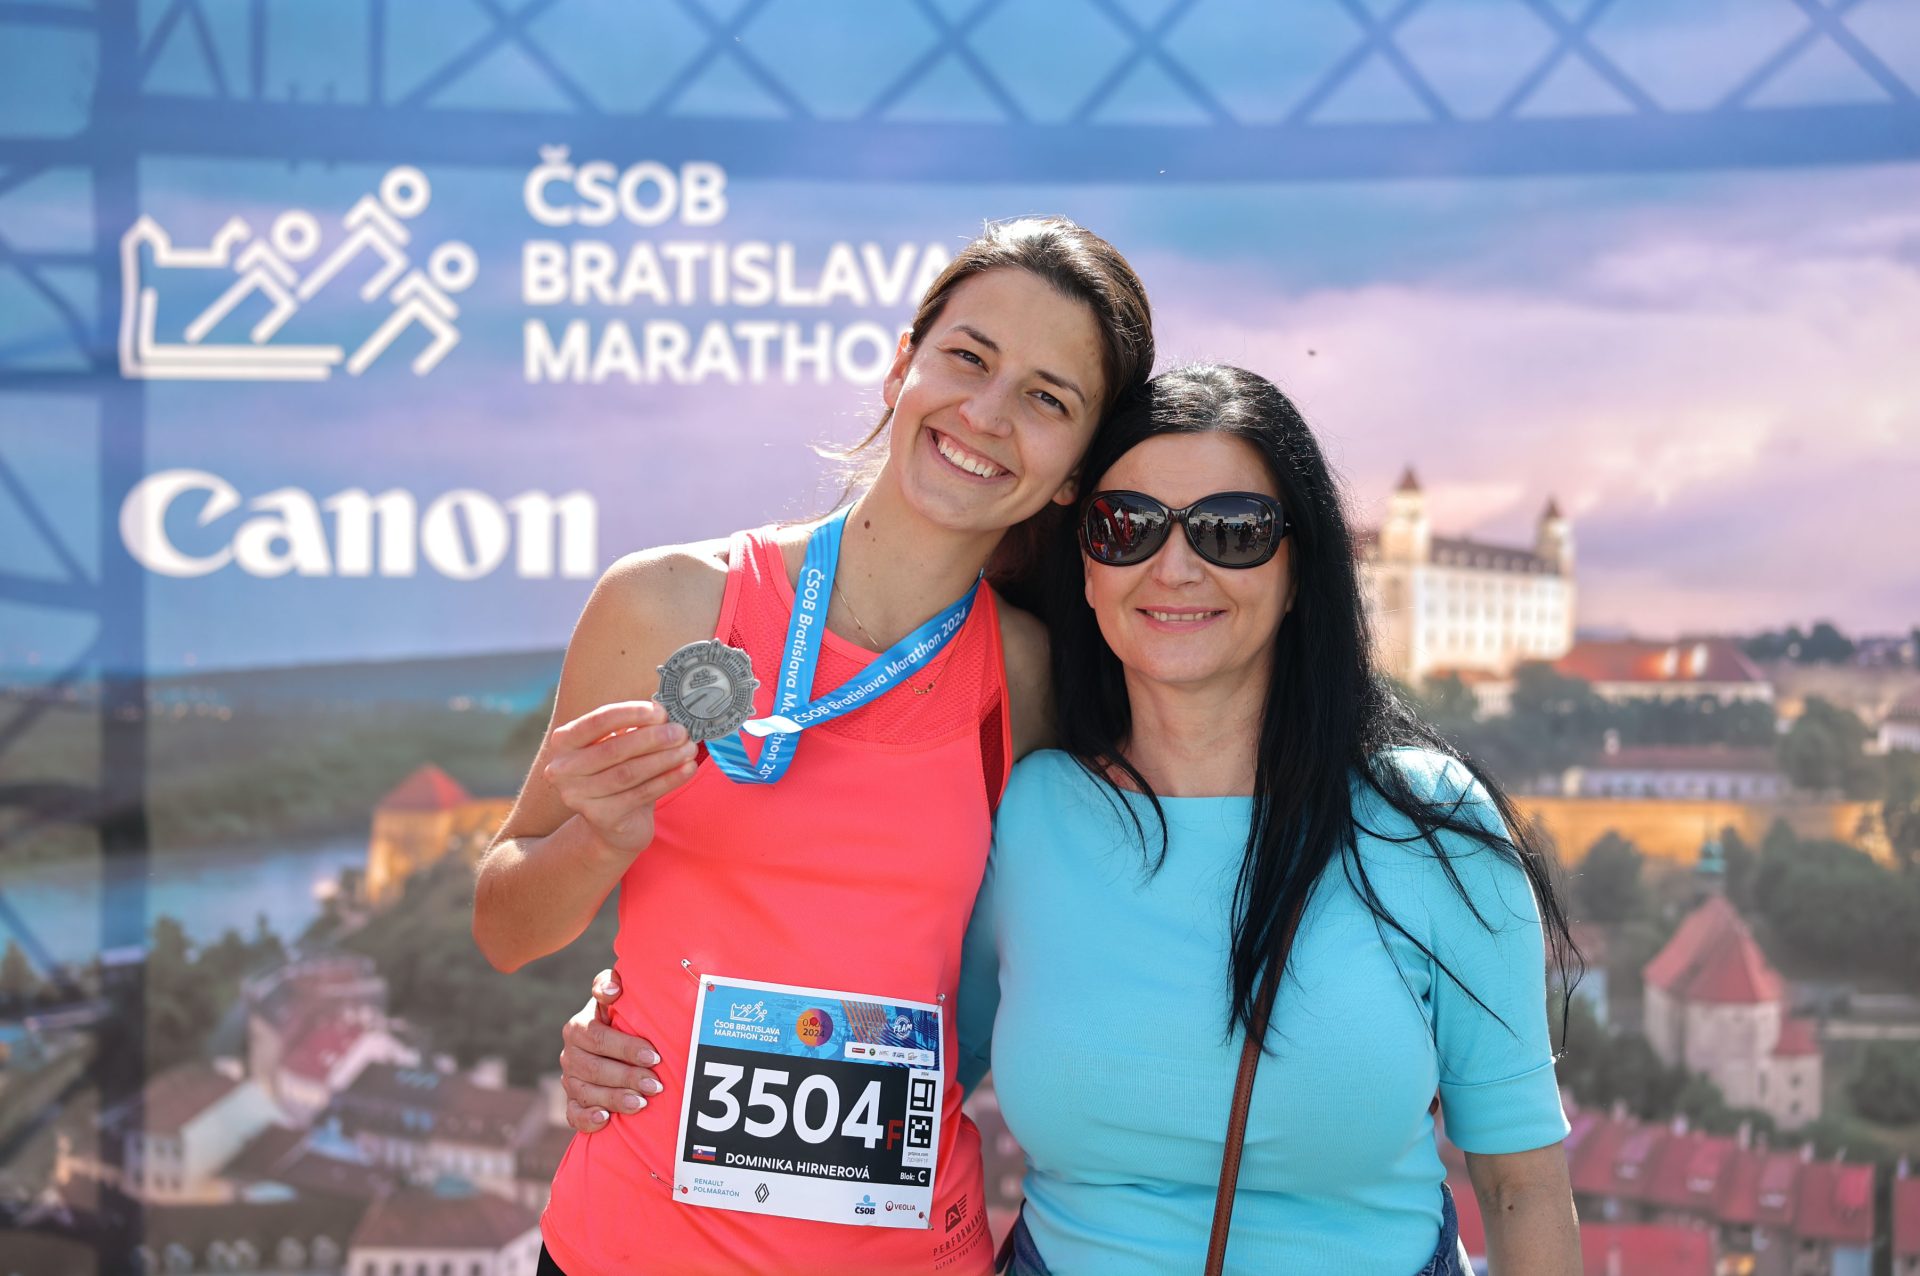
How to create the perfect props?

Less than two weeks before a sports event on the Eurovea waterfront, we decided that in addition to our proven setup - a photo wall, a photographer, hostesses, and custom graphics, we would also add props.

We don't set limits on creativity – and when we do something, we want to do it right. We therefore decided to design and manufacture the props entirely from scratch, keeping the client's corporate identity in mind.


Graphic design, motif selection, and working with bleeds

This time, in a very sporty mood, we designed a boxing glove, a ball, a cap, a tennis racket, and other sports props in a size that is effective and clearly visible in a 15x10 cm photo.

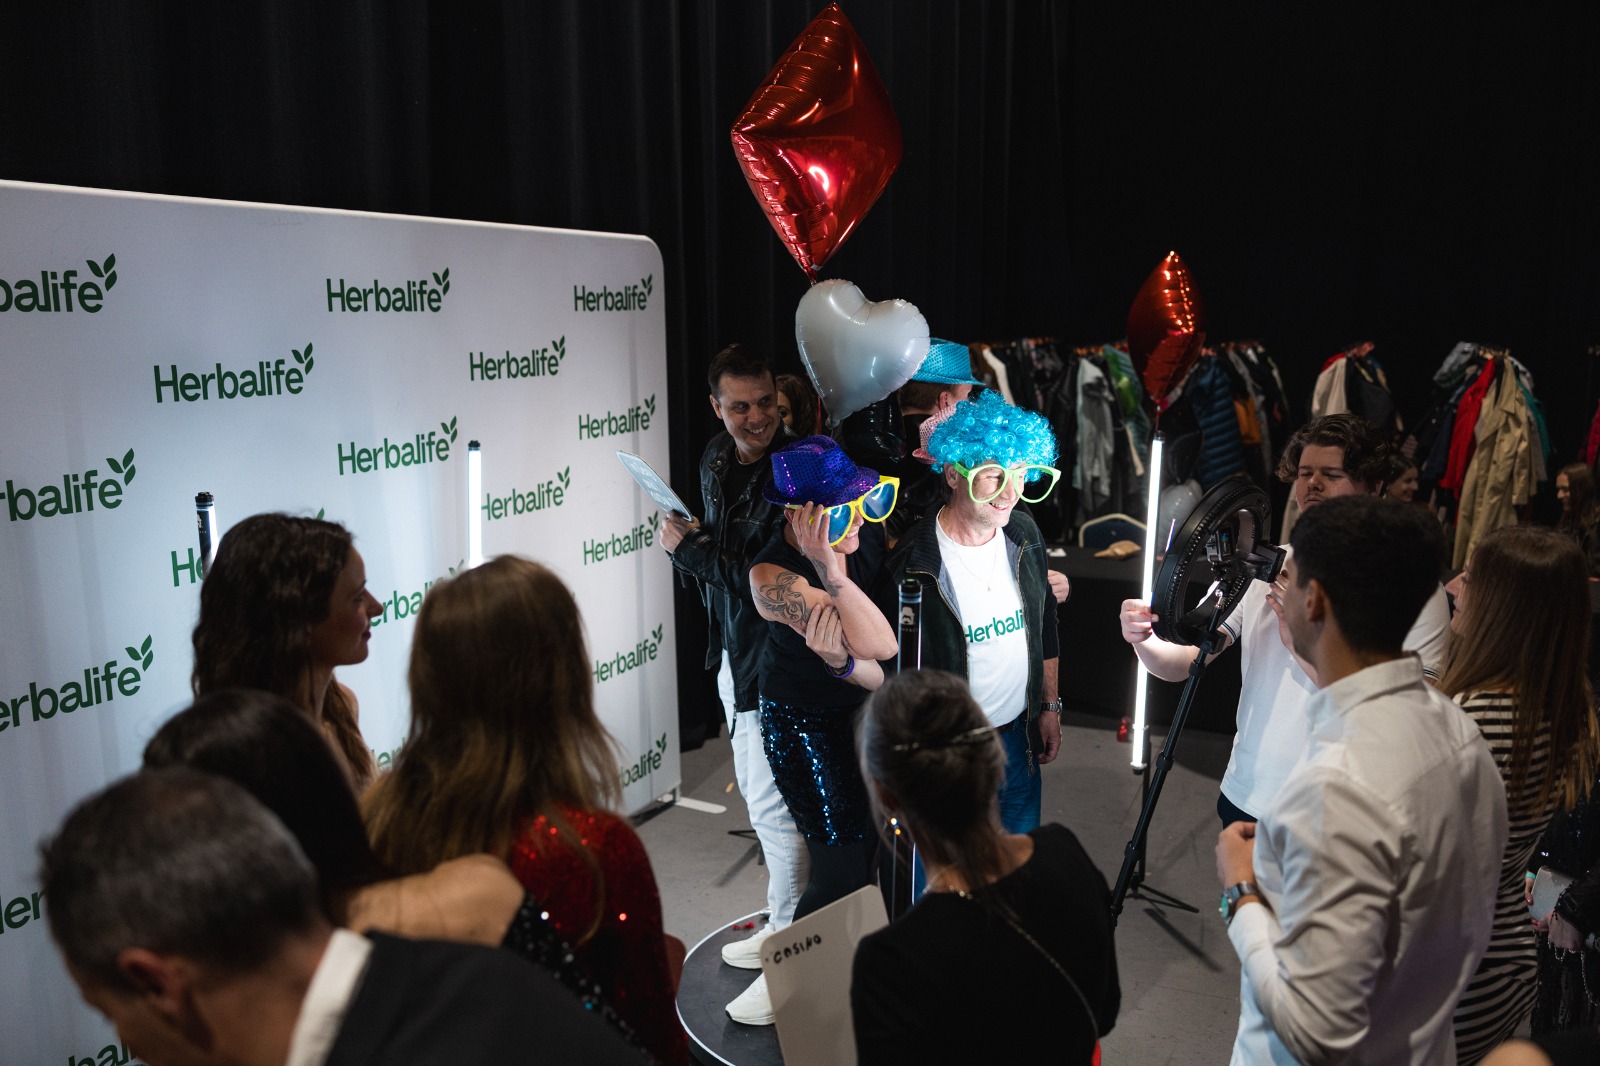
TIP: Choose props and photo wall according to the type of the event and target group. If you are choosing props for a 360° photo/video corner, you need to consider the appropriate dimensions of the props. We will be happy to help you with this. .


Working with bleeds

After selecting the motifs, the technical phase follows – preparing the graphics for printing according to technical requirements: a cutting path in magenta, an image with a 1 cm bleed, and another "control" image where the cutting path is overlaid on the image. All in one PDF. Easy-peasy.

Under normal circumstances, the image would be made larger and cut into, just like any other print. However, our graphic designers decided that the bleed would be slightly darker than the color bordering the object at that point. It's a nice effect for illustrated items, but it can cause problems during precision-cut printing. An average person wouldn't notice such a bug, of course, but those of us who keep one and a half eyes on DTP, graphics, and bitmap quality on the menu while ordering lunch see it immediately.

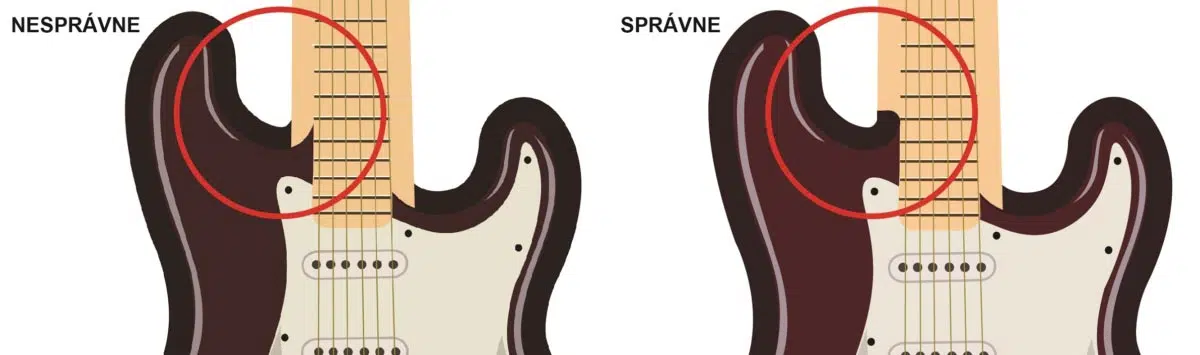
How did it turn out? Beautiful props arrived with sharp printing and clean cuts, where the vector graphics stood out perfectly.. The problem was in the places where two colors met. How to describe it... ideally, show it.

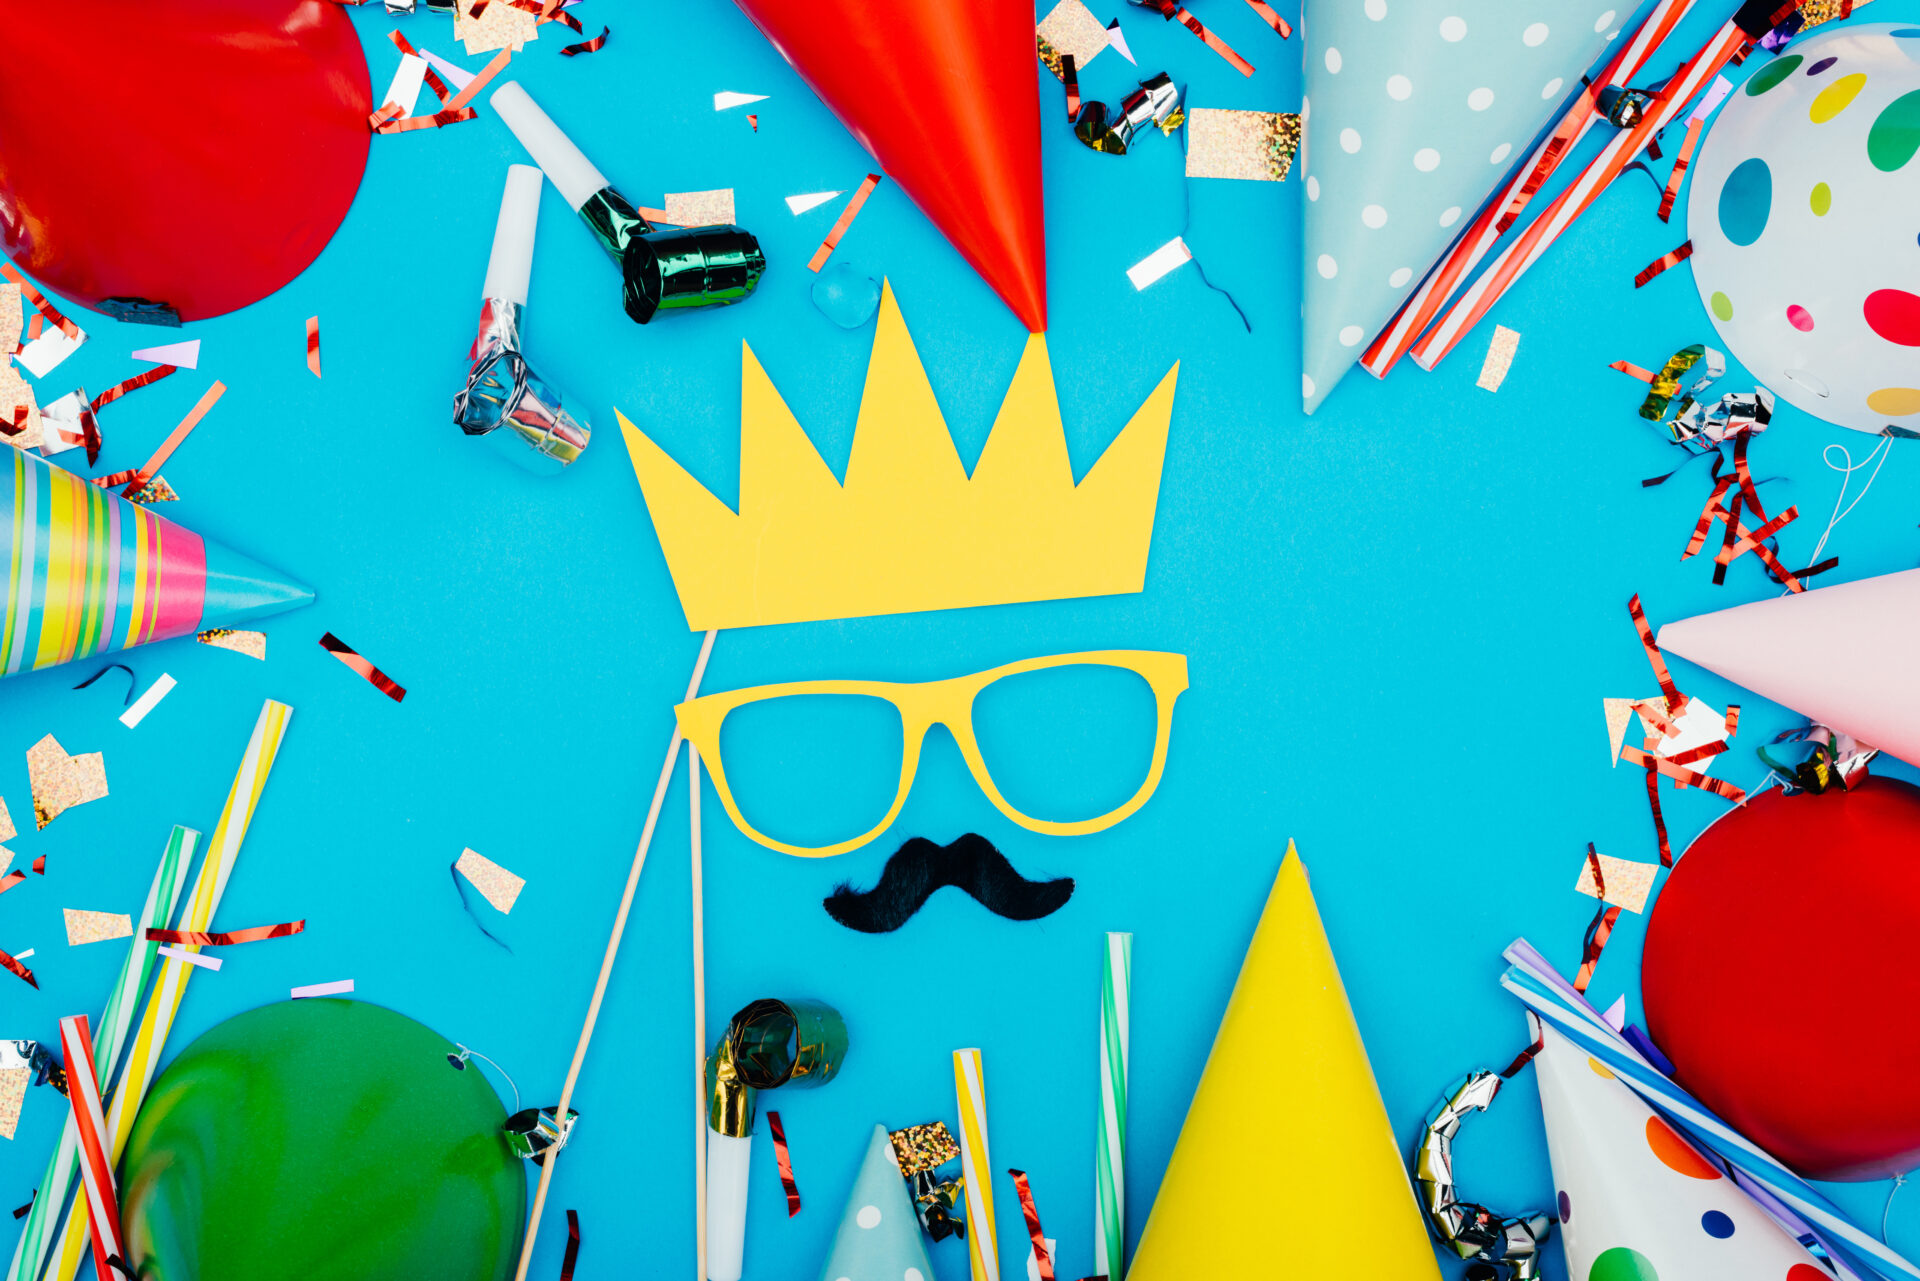
It is a detail that a designer must be able to visualize well enough from a graphic creation perspective to know how to produce the color bleed correctly. For example, with vector graphics of an electric guitar that has a light brown fretboard and a dark body with white elements, the bleed must look like it's an enlarged image, just in a different shade. Well, if you don't want to complicate your life during graphic creation like we did, we have this tip:

When processing bleeds, it pays to account for a slight tolerance during cutting – even a small shift can cause unsightly bordering. A proven method that works? A single-color border around the entire perimeter of the object. It's also nice and effective.


Production and material selection

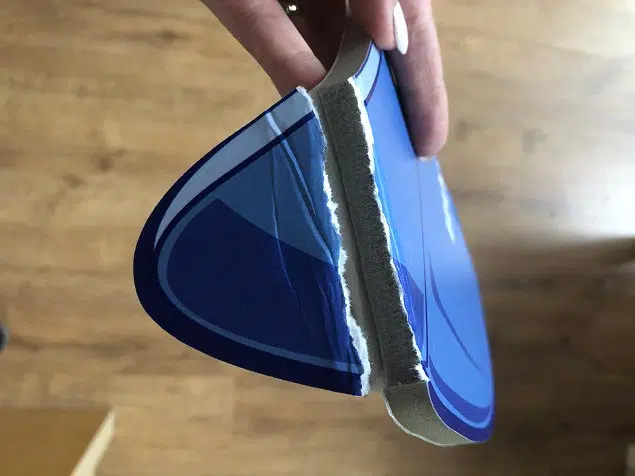
During production, we hit a harsh reality – the supplier provides a quote and manufactures, but rarely advises. We had the first pieces made from 1 cm Kapa-plast. The result? The lifespan of some props was just one event. Weak points (e.g., a trophy handle) simply couldn't withstand the pressure of 2,500 participants.

The solution? Komatex!

Learning from the previous event, for the next batch during the Children's Day event, we chose 5 mm Komatex. The props still hold up today. And we have a shelf full of them: sports, summer, music, themed for corporate parties, weddings, casino events, marathons, or custom branded props. In addition to props, we also produce custom photo walls with various motifs or logo walls.

Quality props and custom photo walls

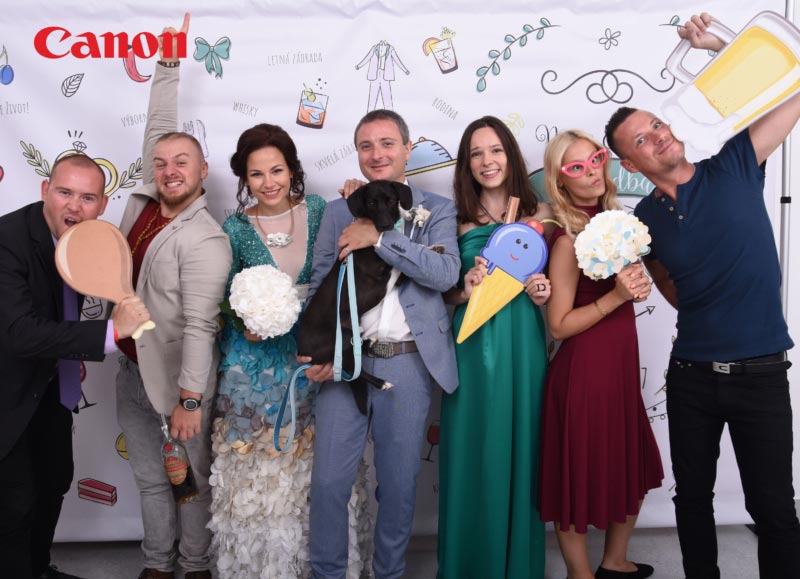
Original props can light up a smile and leave beautiful memories. And if they are well-made, they will last you for several years as a keepsake. It's the same with a photo wall, which you can use repeatedly if you hold a regular event.

Would you also like your own custom props or photo wall? Get in touch – we'll be happy to help you from graphics to final production.